
How to cut a wood block print
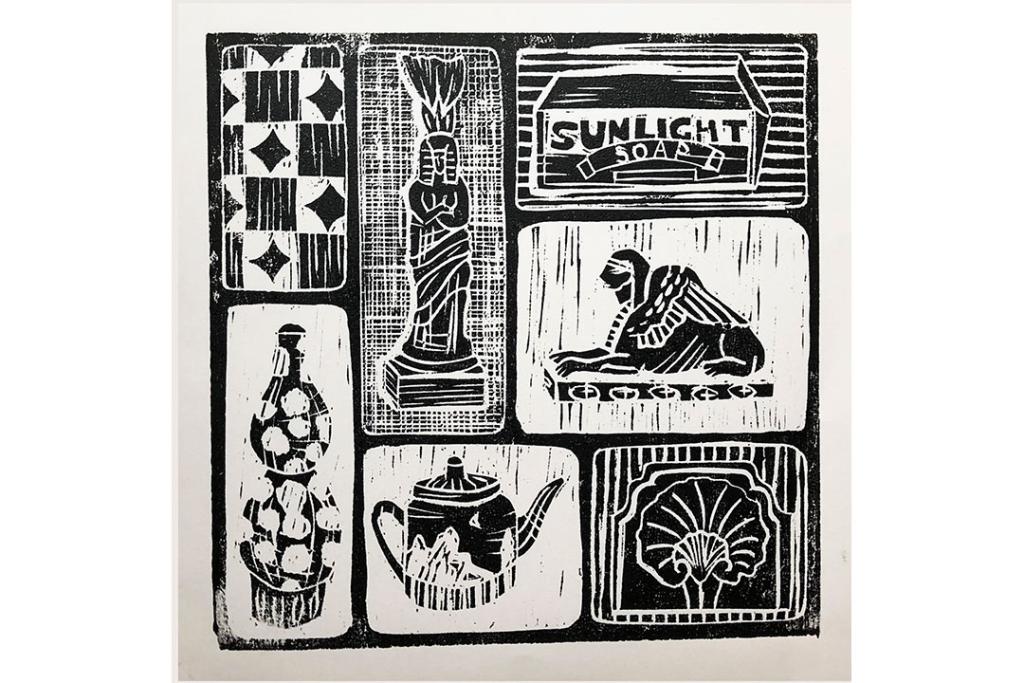
This step-by-step guide has expert tips for creating your very own wood block print. The design of the ‘Cabinet of Curiosities’ woodcut used in this guide was inspired by the eclectic collections of curiosities on display at the Lady Lever Art Gallery. See if you can spot the original objects referenced from all over the gallery next time you visit!
Materials

To make your print you will need:
- wood cutting tools
- softwood or Japanese plywood, my block is 22cm by 22cm. A4 or A3 blocks are good manageable sizes for beginners’, 4-6mm deep.
- ink brayer (printmaking roller)
- relief ink (water washable)
- palette knife
- ink palette
- bench hook or non-slip mat
- wooden spoon or printing barren
- paint brush
- drawing ink or dye
- stiff cleaning brush
- pencil
- eraser
- permanent marker pen
- tracing paper (optional)
- copy printer paper, light weight cartridge paper, or Japanese rice paper
Cutting the block

1. Draw your design in pencil line on to the woodblock. If you prefer you could carbon transfer your image onto the block with tracing paper. Carefully go over your pencil lines with a permanent marker pen to make them stand out. It must be a permanent marker as it needs to be waterproof for the next stage.

2. Using coloured drawing ink, coat the surface of the woodblock, making sure you can still see your design underneath. Colouring the wood surface will help you to see your cut marks when you begin to carve into the surface.

3. Before you begin to carve your design it’s a good idea to coat a section of the back of your block also. You can use this area to practice your carving technique and try out the different tools before you tackle your design on the other side. Practice applying different pressures to the tools to make different strengths of line and cutting across the wood grain also, as this takes more control to master. Generally speaking, the tools that come to a shape ‘V’ point at the cutter will make fine deep lines, good for tracing and outlining. The tools without a sharp point, more of a ‘U’ shape, are great for clearing large areas of the block.

Safety first!
Always use a bench hook or a non-slip mat to stabilise your wood block when you are cutting. Get into the habit of turning your block around to navigate around corners so that the cutting tool is never pointed towards you!

4. When you are confident that you have mastered the carving technique and understand the correct pressure to apply to create a steady groove, you are ready to carefully cut around your traced design lines. Take care - if you find the wood is tearing when you cut across the grain, you can score the surface of the wood with a scalpel first to make a groove for your cutting tool to follow.

Clearing the block

5. When you have carved the outline of your design you can clear sections of it away to make some parts stand out, and to add tonal interest or texture to your print. ‘U’ cutters are generally best for this purpose, as they will clear a larger surface area quickly.

At this stage it’s up to you to make creative decisions, what parts to clear, what parts to leave? Where to add texture, how deep to cut? This is the fun bit! Just remember to keep turning your block around to get round any difficult angles.


Inking the block
6. When you are happy with the carving you have made, use a stiff brush to brush away any debris wood shavings.

7. It’s now time to ink up your block. Put a pea-sized amount of relief printing ink onto your inking palette. Roller it out in forwards and backwards motions, and then from side to side. Look out for tiny peaks in the ink or a faint crackling sound to judge you have spread it evenly across the ink palette.

8. Pass your inked-up brayer across the surface of your block in all directions until the surface is coated with an even distribution of ink. You may have to repeat this process several times until the whole of the block is coated. Hold it up to the light to check out the shine across the surface, this will help.
Top tip: Be careful not to use too much ink when inking up. You need to roll the ink out evenly; it should not have high peaks or squelch! If you over ink your plate you may also lose some of the detail as excess ink will fall into the grooves.

Pulling the print
9. To centralise your print in the middle of your paper make registration marks on your print table with masking tape so as to not mark your table. Place your wood block onto the table and mark the corners of it with tape. Do the same with the paper you are using to make sure you line up your print on the paper with a good border all around it. Look at my photographs for guidance.

10. Place your inked up woodblock on the taped block marks on the table, ink side up. Register your paper to the paper tape marks and place it on top of the inked block. Finally, to hand pull a print you need to ‘burnish’ the back of your paper, this is a printmaking term for rubbing in circular motions whilst applying pressure. Printmakers usually use a barren for this, but the back of a wooden spoon from your kitchen will work just as well.

11. You can take a peak by peeling the paper up on one side, if the print is too pale, carry on burnishing with a bit more pressure.

Print drying times will vary according to the ink you use, follow the manufacturer's guidance provided.
Sit back and admire your finished print!

'Cabinet of Curiosities' print design and all photographs © Collette Whittington